
 Francesca Bingley

You’ve been planning the surf holiday or road trip all week, bought the supplies, packed the car to capacity, squeezed your mates in, driven for hours to your favourite surf break.... only to find that it’s flat. “Disappointing” doesn’t even come close. So to help you avoid all that stress, and get you to the waves, we’ve put together a mini series on how to read a surf report. Today’s update is on swell direction, so here goes...
When you’re looking at an online surf report it can be a little bit daunting at first, like the first time you went to science class, but don’t worry- it’s no where near as complicated. There’s a lot to be distracted by, but the important thing to know about the surf break you’re heading to is what type of break it is.
A good surf report will tell you the basics about the break, what type of break it is: beach, reef, rock or point? If the swell creates rideable waves to the left, right or both. How far you have to paddle and how accessible the break is. It’s important to know which direction the waves form, as this will help you to look for good swell direction.
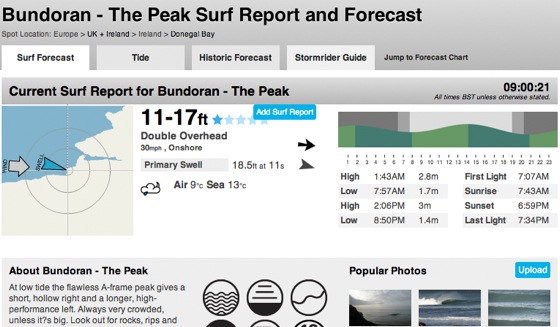
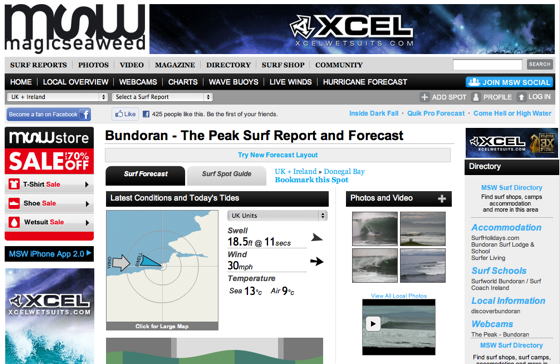
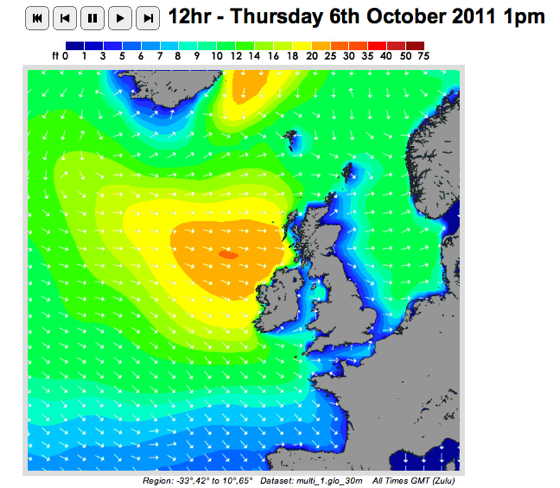
When looking at a swell direction map, or the funny little arrows that surf sites like to use, look for how the arrows line up with the coast. Generally you’d like an arrow that is pointing at the break, and (somewhat obviously) not from the land. This shows that there will be swell hitting the coast.
The next step is to get fussy. Each surf spot is unique, so a slightly southerly or north westerly swell could make all the difference to how the swell hits the break and creates the waves. In order to maximize the report in front of you, check the comments from local surfers, and read a guide if you don’t know the spot. It’ll make all the difference when you can see a swell pushing in online, and be in the water the following day.
Look out for tomorrow’s ‘how to’ on wave heights.